
How to Start & Grow Dahlias in USDA Zone 7


A New Gardener’s Guide to Growing Dahlias
If you're new to gardening and eager to grow some show-stopping flowers, dahlias are an excellent place to start. With their vibrant colors, diverse shapes, and long blooming season, dahlias are a favorite among gardeners—and for good reason. In USDA Zone 7, you’re in an ideal climate for growing these beauties, and with a little planning and care, you can enjoy stunning blooms from mid-summer through the first frost.
This guide will walk you through everything a new gardener needs to know about starting dahlia tubers indoors in April and planting them out when the weather is right — usually toward the end of May.
Why Start Dahlias Indoors?
Dahlias are grown from tubers, which resemble small, brown sweet potatoes. While you can plant them directly in the ground after your last frost date, starting them indoors gives you a head start. You’ll encourage early growth, beat late spring chilliness, and potentially get blooms earlier in the season.
In USDA Zone 7, the average last frost date is around mid-May, though it can vary by a week or two depending on your local climate and even microclimate. Starting tubers indoors in early to mid-April allows for healthy sprouting and root development before transplanting them outdoors in mid to late May, once the soil has thoroughly warmed and the risk of frost has passed.
Choosing Dahlia Tubers
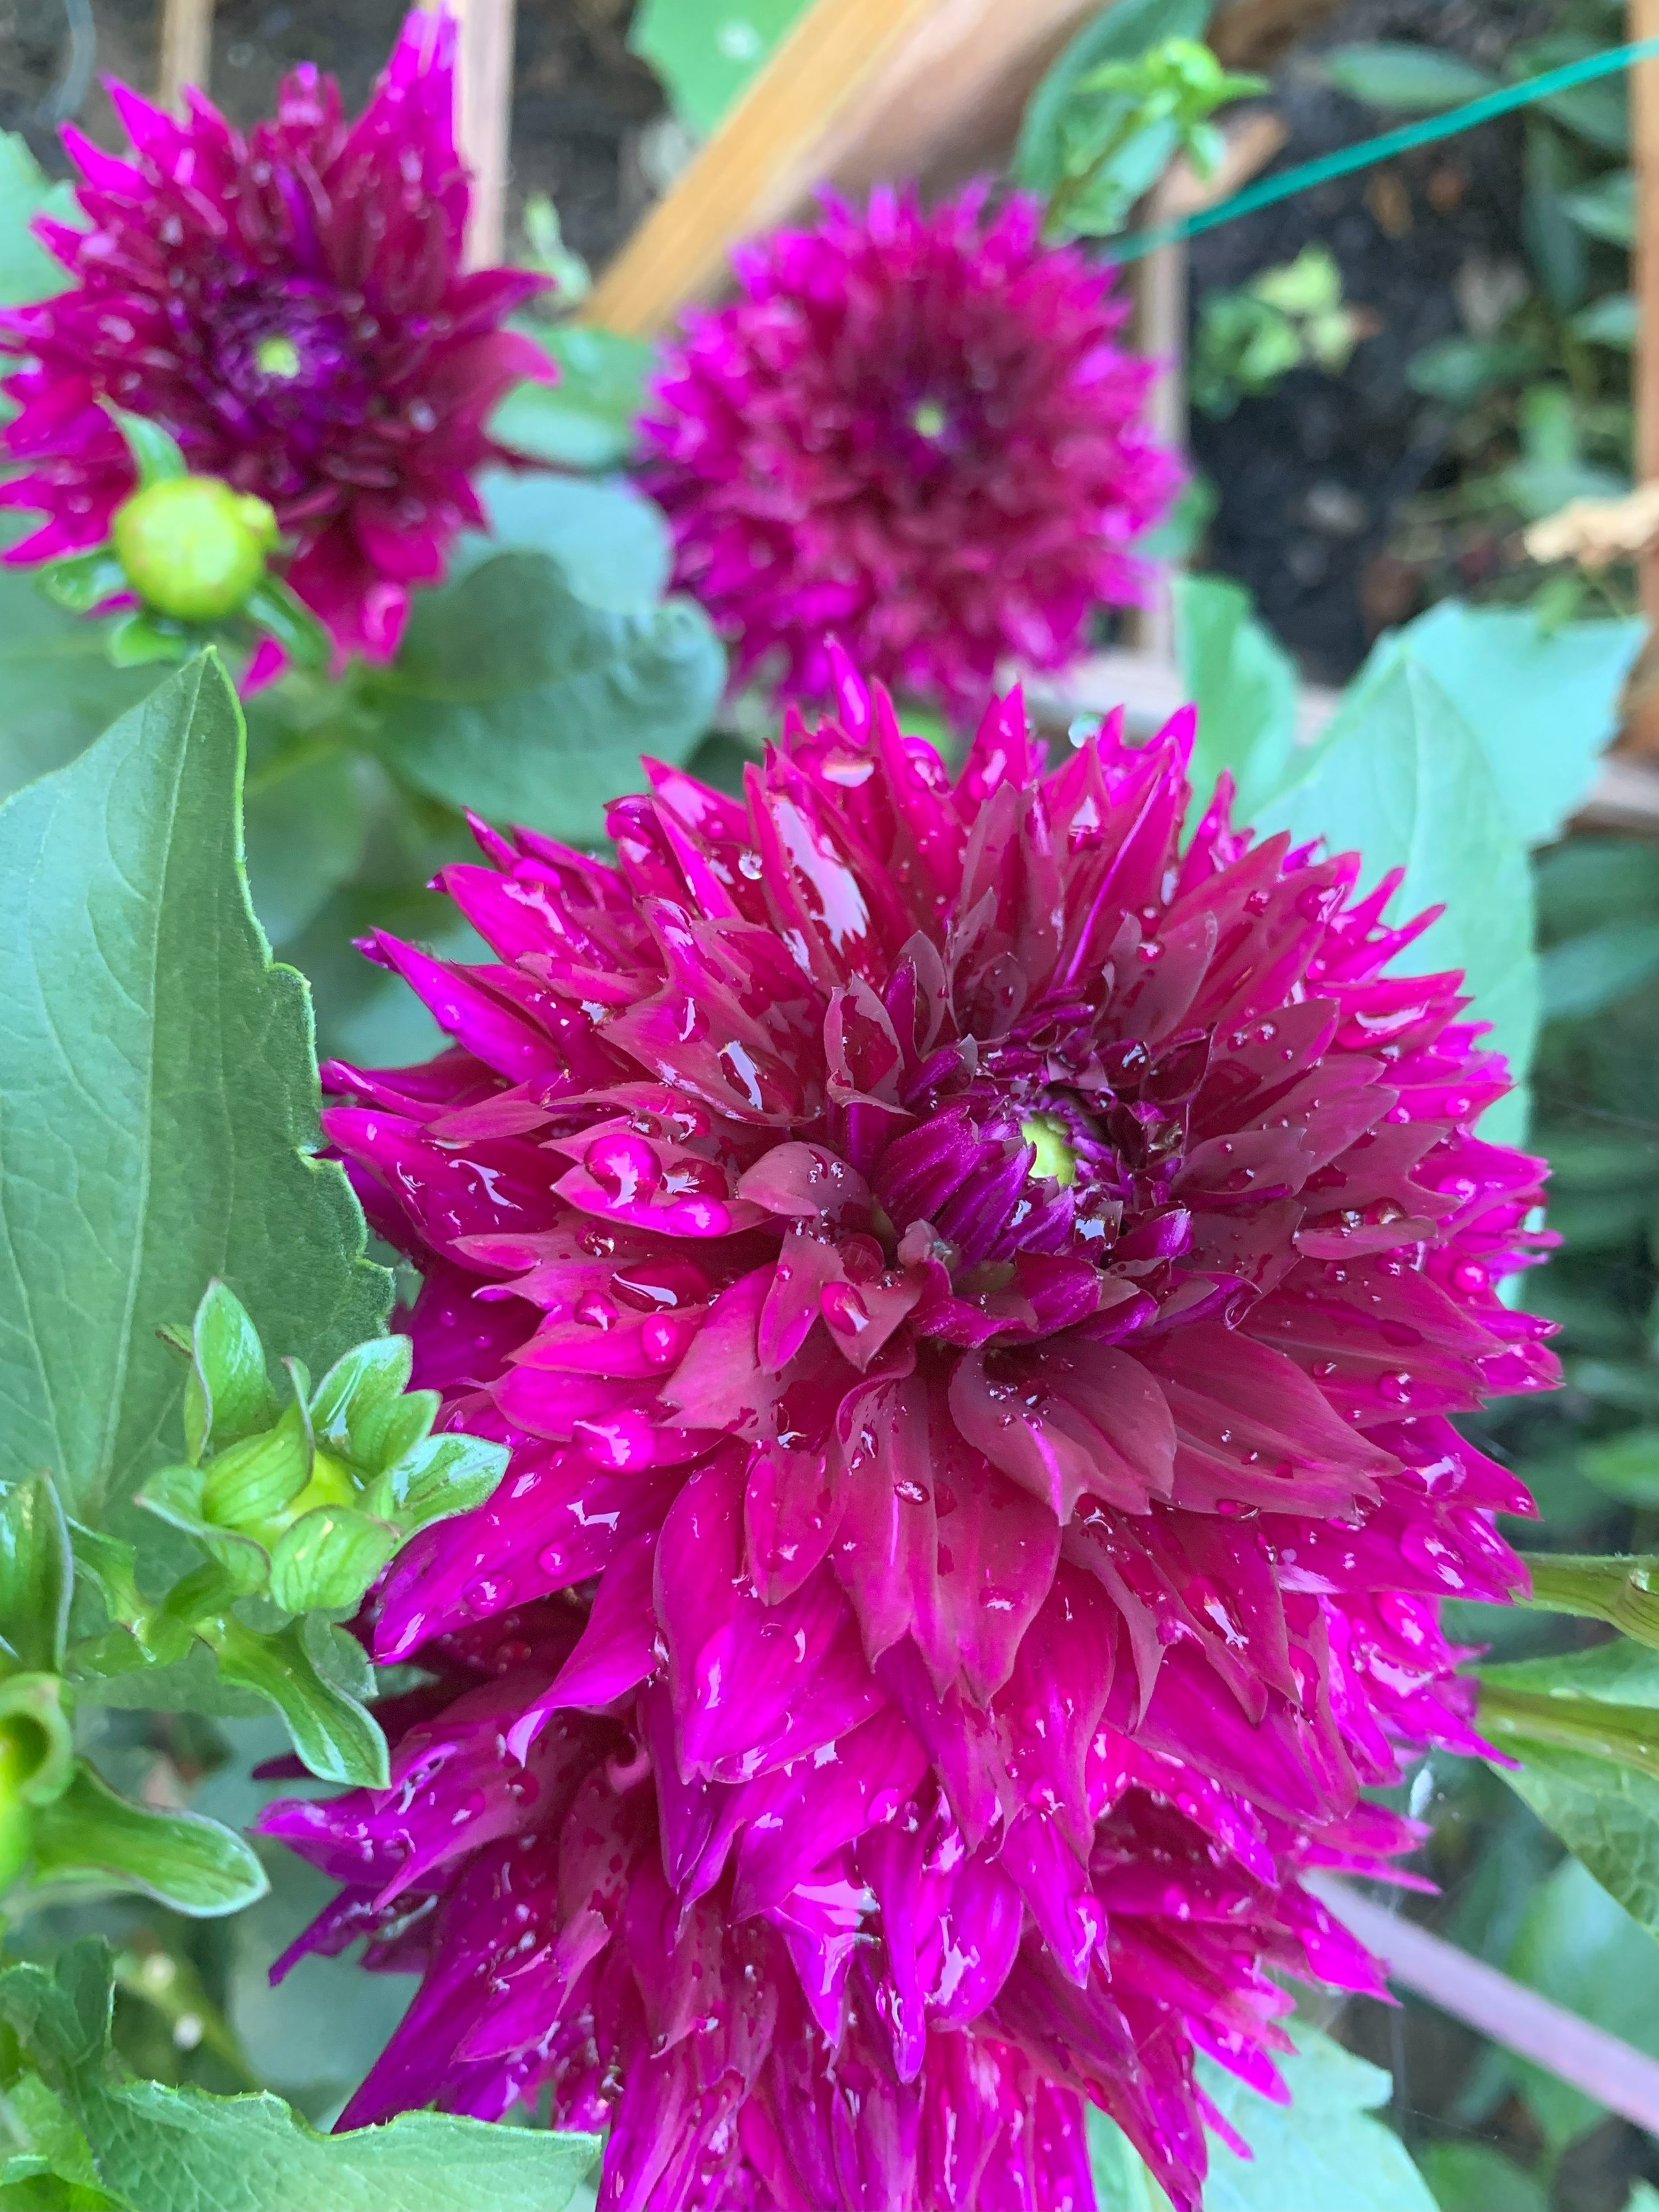
Start by selecting quality dahlia tubers from a local garden center or online. Swan Island Dahlias is a well-known source of dahlia tubers. There are a variety of types—dinnerplate, pompon, cactus, waterlily, and more—so choose based on the flower shapes, sizes and colors that appeal to you. If you’re new to dahlias, why not try several!?.
When picking tubers, look for:
Firm, plump tubers (not shriveled or mushy)
A visible “eye” or bud at the crown (this is where the plant will sprout)
No signs of mold or rot


Starting Tubers Indoors: Step-by-Step
1. Gather Your Supplies
Clean pots or seedling trays (at least 4-6 inches deep)
A lightweight, well-draining potting mix (no fertilizer needed yet)
Labels to identify different varieties
A sunny windowsill, grow light, or greenhouse
2. Potting the Tubers
Fill your pots about halfway with potting mix. Lay the tuber on its side, with the eye facing up. Cover with more potting mix until the tuber is just barely covered. Do not bury it too deeply—dahlias like shallow planting to start.
Water the soil lightly—just enough to moisten, not soak.
3. Provide Light and Warmth
Place your pots in a warm (65–70°F) location with good light. A south-facing window or under grow lights for 12–14 hours a day works well.
In 1–3 weeks, you should see green shoots emerging. Once they’re about 3–5 inches tall, you can pinch out the top set of leaves to encourage bushier growth (more on that below).
Hardening Off and Planting Outdoors
1. Timing
Wait until at least mid-May to begin hardening off your dahlias. The soil should be consistently above 60°F and there should be no threat of frost.
2. Hardening Off Process
Over roughly a week, gradually expose your plants to outdoor conditions. Start with a couple of hours in partial shade and increase the time and sun exposure daily. This helps them adjust to wind, sun, and fluctuating temps without shock.
3. Choosing a Planting Site
Pick a location with:
Full sun (at least 6–8 hours daily)
Rich, well-drained soil
Shelter from strong winds
If your soil is heavy or clay-rich, amend it with compost, well-rotted manure or other organic material.


How to Plant Dahlias Outdoors
1. Spacing
Dahlias need room to grow:
12–18 inches apart for small and medium varieties
18–24 inches apart for large and dinnerplate types
This spacing promotes airflow, which helps prevent mildew and pests.
2. Planting Depth
Dig a hole 4–6 inches deep. Place the sprouted tuber with the shoot pointing up (of course). Backfill, covering the tuber but keeping the shoot just at or slightly above soil level.
Don’t water immediately—wait until shoots appear above ground and then water deeply.
3. Staking (Optional but Highly Recommended)
Tall varieties, especially dinnerplate dahlias, benefit from support. Install a sturdy stake or staked netting (I’ve seen one serious dahlia grower use rebar!) at planting time to avoid disturbing roots later. Tie stems loosely as they grow.
Caring for Your Dahlias
1. Watering
Water deeply but infrequently once shoots are growing.
Avoid soggy soil. Let the top inch dry between waterings.
In hot summer weather, dahlias may need water 2–3 times a week.
2. Feeding
Dahlias are heavy feeders. Use a low-nitrogen fertilizer (like 5-10-10) once the plants are about a foot tall. Overfeeding with nitrogen encourages lush leaves but fewer flowers.
Feed every 3–4 weeks throughout the growing season.
3. Pinching and Deadheading
Pinching (optional): Once the plant reaches about 12 inches tall, pinch out the top shoot just above a set of leaves. This encourages branching and more flowers.
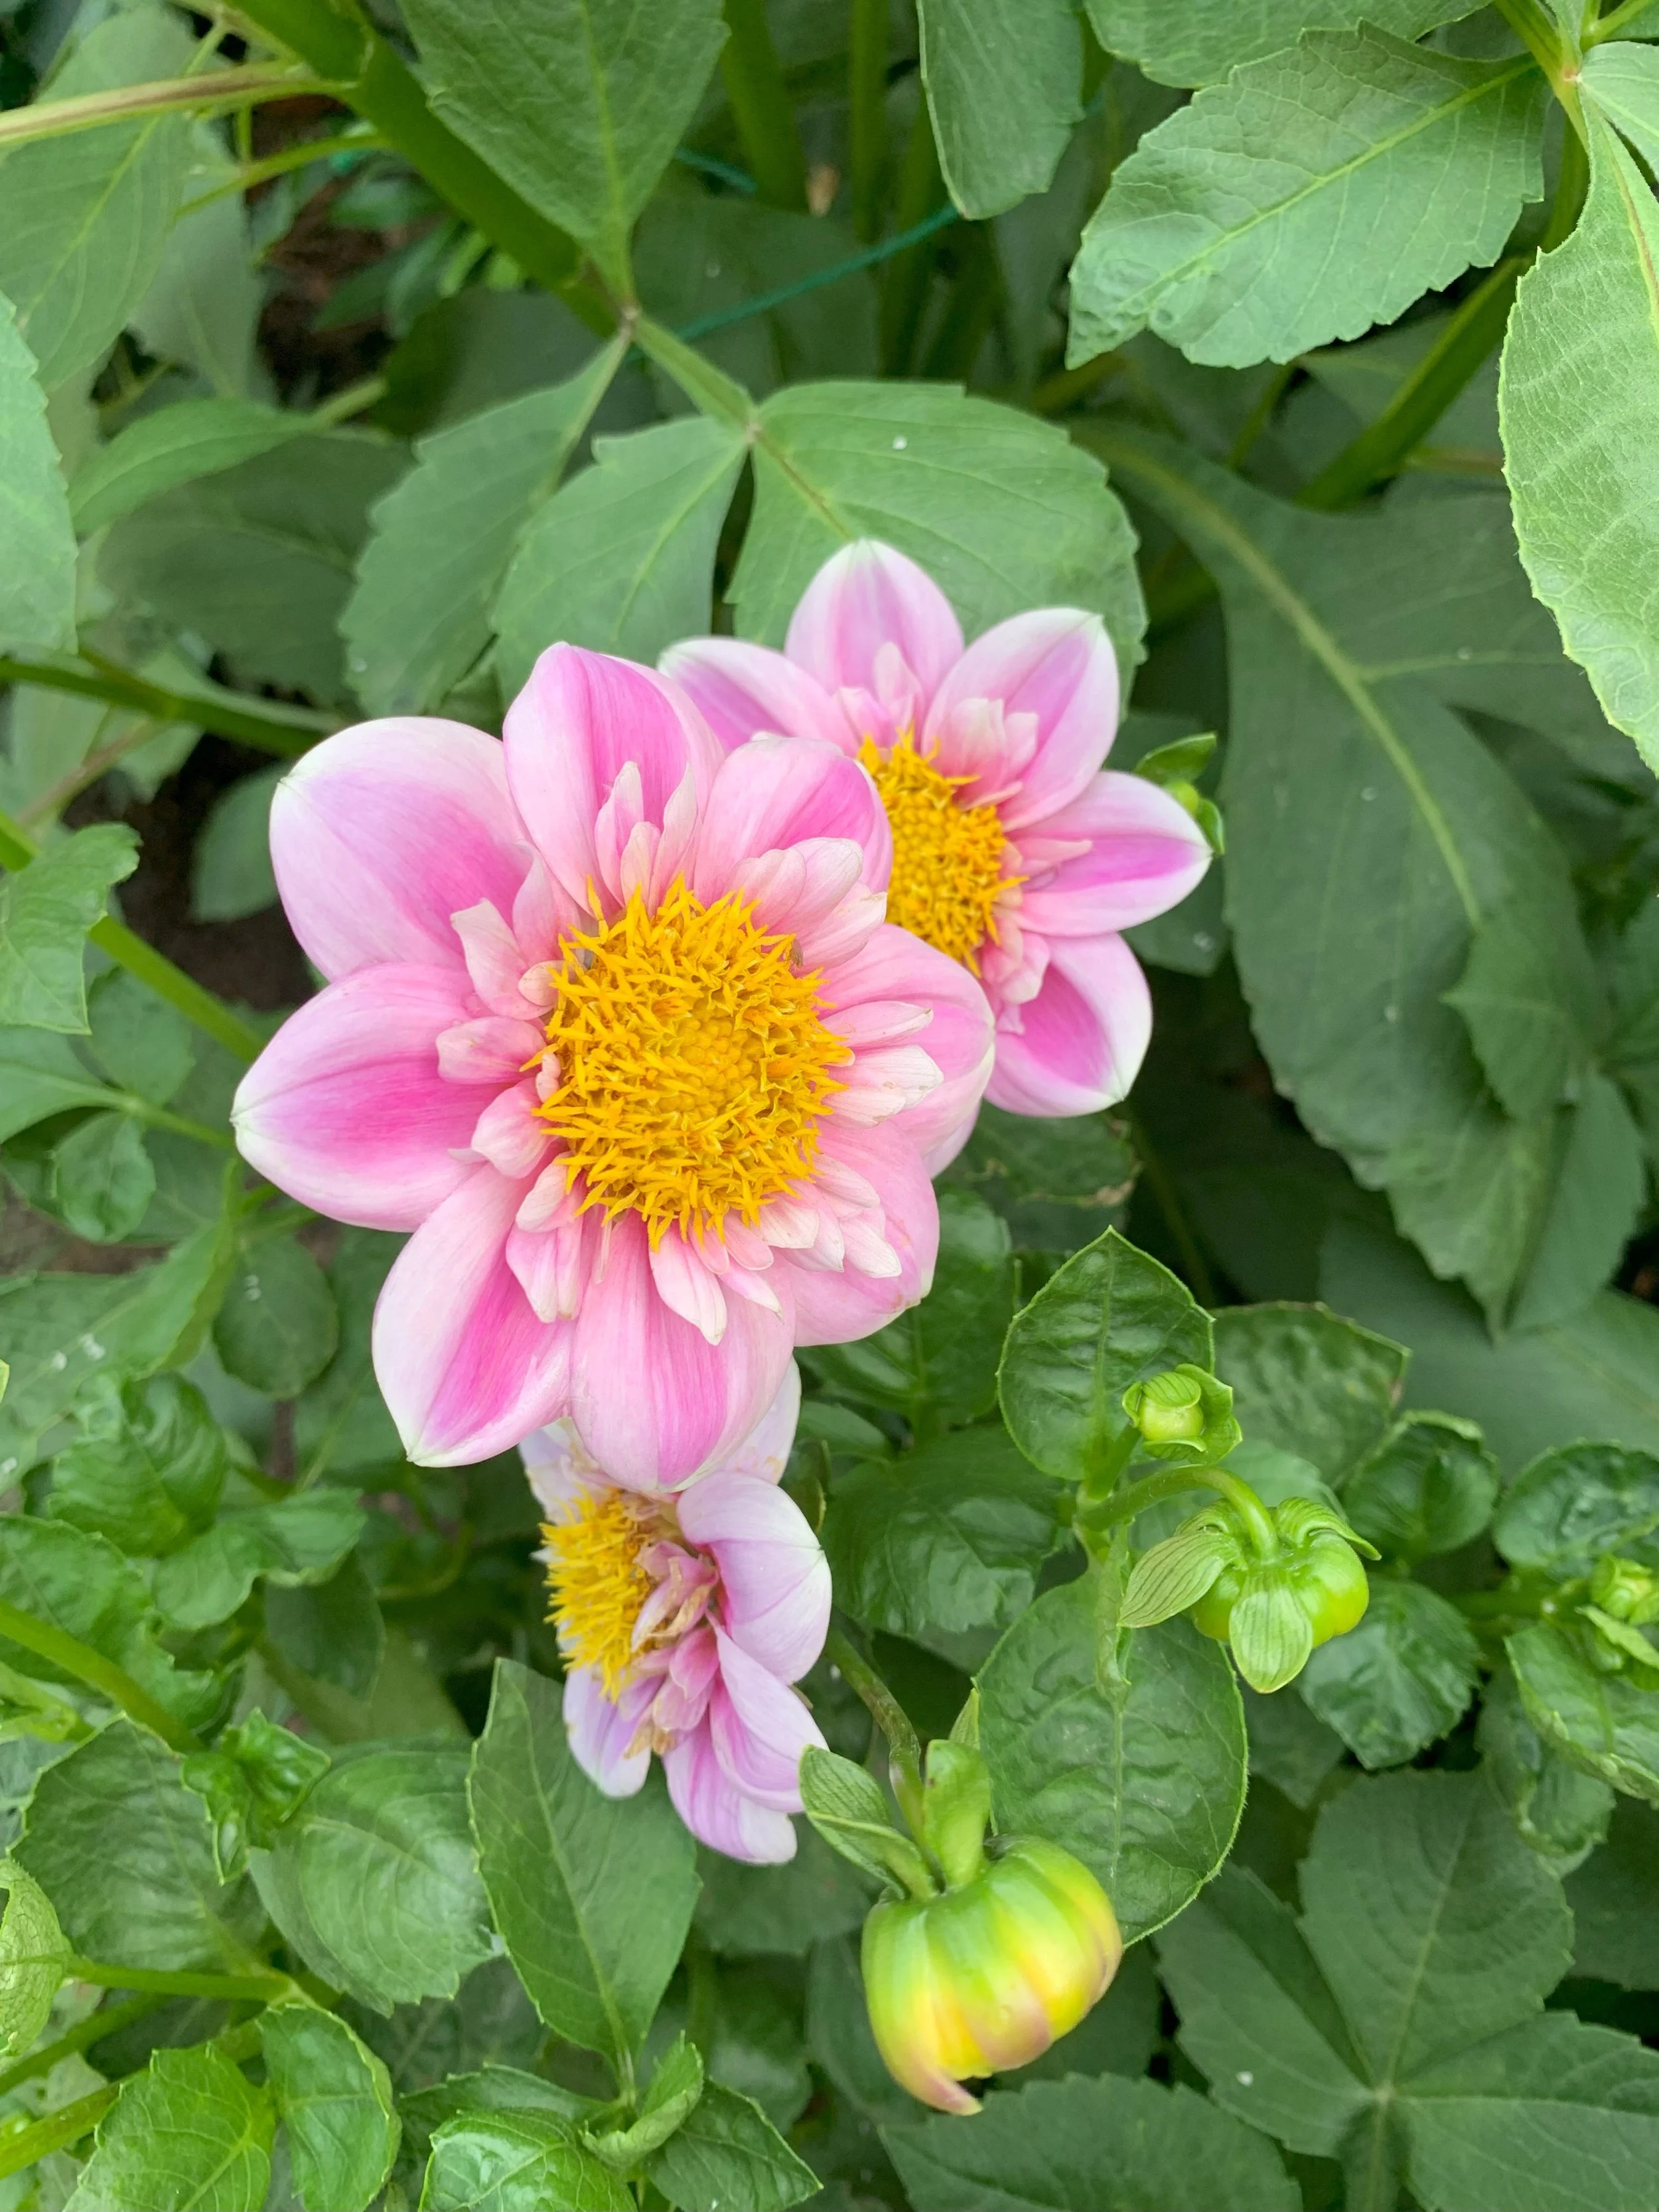
Deadheading: Remove spent blooms regularly to keep the plant blooming into fall. A new bud is more round than a spent dahlia seed head which is more conical or pointed in shape.

New dahlia bud
Common Problems and How to Avoid Them
1. Slugs and Snails
Young dahlia shoots are tender and appealing. People use slug bait, beer traps, copper tape, crushed egg shells or whatever other deterrent you can think of or may have heard about; however, be as natural as you can and grow healthy plants that aren’t overwatered, underwatered, or overfed and slugs may not be a major issue.
2. Powdery Mildew
This white, powdery coating on leaves is a common issue in humid conditions. Ensure good air circulation and avoid overhead watering as much as your situation allows.
3. Earwigs
You can try to lure them into creative alternative hiding places and then ‘dispose of them’. Or you can try the laborious route of smearing Vaseline around the stems below the flowers. Or accept some nibbling and not worry about it too much unless you’re intending to enter them into competitions.
When and How to Dig Up Tubers (Optional in Zone 7)
Zone 7 may be mild enough that you can likely overwinter dahlia tubers in the ground with heavy mulch, especially in well-draining soil. However, digging them up in the fall is safer and extends their life. The combination of wet and cold causes the highest loss rate. You can always try overwintering the tubers in the ground and see how they do. Worst case is you buy a replacement and lift them the next season.
To Dig Up and Store Tubers:
Wait until the first frost blackens the foliage.
Cut back stems to 4–6 inches.
Carefully dig up the clump, avoiding damage.
Gently rinse off soil and allow to dry in a cool, shady place for a few days.
Store in vermiculite or wrapped in newspaper (there are several other methods) placed in a cardboard box, milk crate, or apple tray in a cool, dry area (around 40–50°F).
Check monthly for signs of rot or shriveling.
Final Thoughts
Growing dahlias is a joyful, rewarding part of summer and fall gardening (even if it can be a bit of a fuss). While they may seem demanding at first, a few properly timed steps and a little attention goes a long way—and the results are spectacular. So buy a few tubers, set up a sunny bit of dirt somewhere in the garden, and get started! By mid-summer, your garden will be bursting with bold blooms.